To inaugurate my newest blogging adventure, a fun little craft - chalkboard paint labels!
I've seen these all over Pinterest lately, and I just had to try it out. Given my affinity for storing food and many other things in glass jars, this is a great project for me. You can also paint other things with chalkboard paint...pieces of wood,
old silver platters, a wall,
your fridge (this would be awesome for a mini-fridge in a dorm room)...the possibilities are endless! Several blogs I've seen recommend painting paper labels or decals with homemade chalkboard paint and then putting the labels on the jars, but I wanted to see what would happen when I painted directly onto the jars. So, here goes!
Supplies
 |
| What I used for this project, more or less |
- Glass jars, washed & dried
- Acrylic paint
- Non-sanded grout (from the tile section of your hardware store)
- Small/medium paint brushes
- Scissors
- Measuring spoons
- Plastic container (for mixing paint)
- Contact paper (IMPORTANT: it should say "removable" on the package)
- Chalk
Method
Prepare the Jars
Decide what shape you want your label to be. Need some inspiration? Ask the
Google. I chose a simple rectangle with quarter circles cut out of the corners. I made a template for each jar with a piece of newspaper, cutting each one to the appropriate size for the jar. I took the templates and trace them onto the contact paper, leaving about 1" all the way around each one.
 |
| Contact paper stencil in the making |
I cut out the center portion of each piece of contact paper with scissors or an exacto knife (be careful!) to create a stencil:
 |
| Contact paper stencil |
After peeling off the backing of the contact paper, I carefully applied each one to its jar. Because the contact paper is removable, it was easy to adjust the labels if I put them on crooked or there were bubbles. It really helps if you cut the outside of the stencil square. If it's not square, it can be quite difficult to tell if the label is level and straight.
Make the Chalkboard Paint
Use 1 tablespoon of non-sanded grout for each 1/2 cup of acrylic paint; mix well in a plastic container. Non-sanded grout is incredibly fine, so be sure to mix the paint in a well-ventilated area.
As you might have noticed from the supplies photo, I was originally planning on using a cleaned out cottage cheese container. But I changed my mind, and opted for this smaller, clear container.
 |
| Marks indicate 1/2 cup and 1 cup |
As you can see, I marked 1/2 and 1 cup lines on the outside of the container, making it super simple to tell how much paint I had and thus how much grout I would need.
I got a 12-pack of 2-ounce bottles of acrylic paint at the hardware store for less than $12. If you buy them individually, they are $1 each, so I was pretty happy with my find. I used the light and medium greens and the blue in a failed attempt to make teal. I wound up with a color that is reminiscent of green chalkboards. That was not my intention, but I figured it was appropriate, so I went with it.
 |
| Not-so-teal paint, getting chalkboardified |
When I mixed in the grout, I stirred and stirred but it still looked gritty. I think next time I'll sift the grout before I mix it in, to get a more fine texture.
Note: the grout will absorb some of the paint and begin to dry out, so this paint doesn't store very well. I advise only making the amount of paint that you need for that project.
Paint the Jars
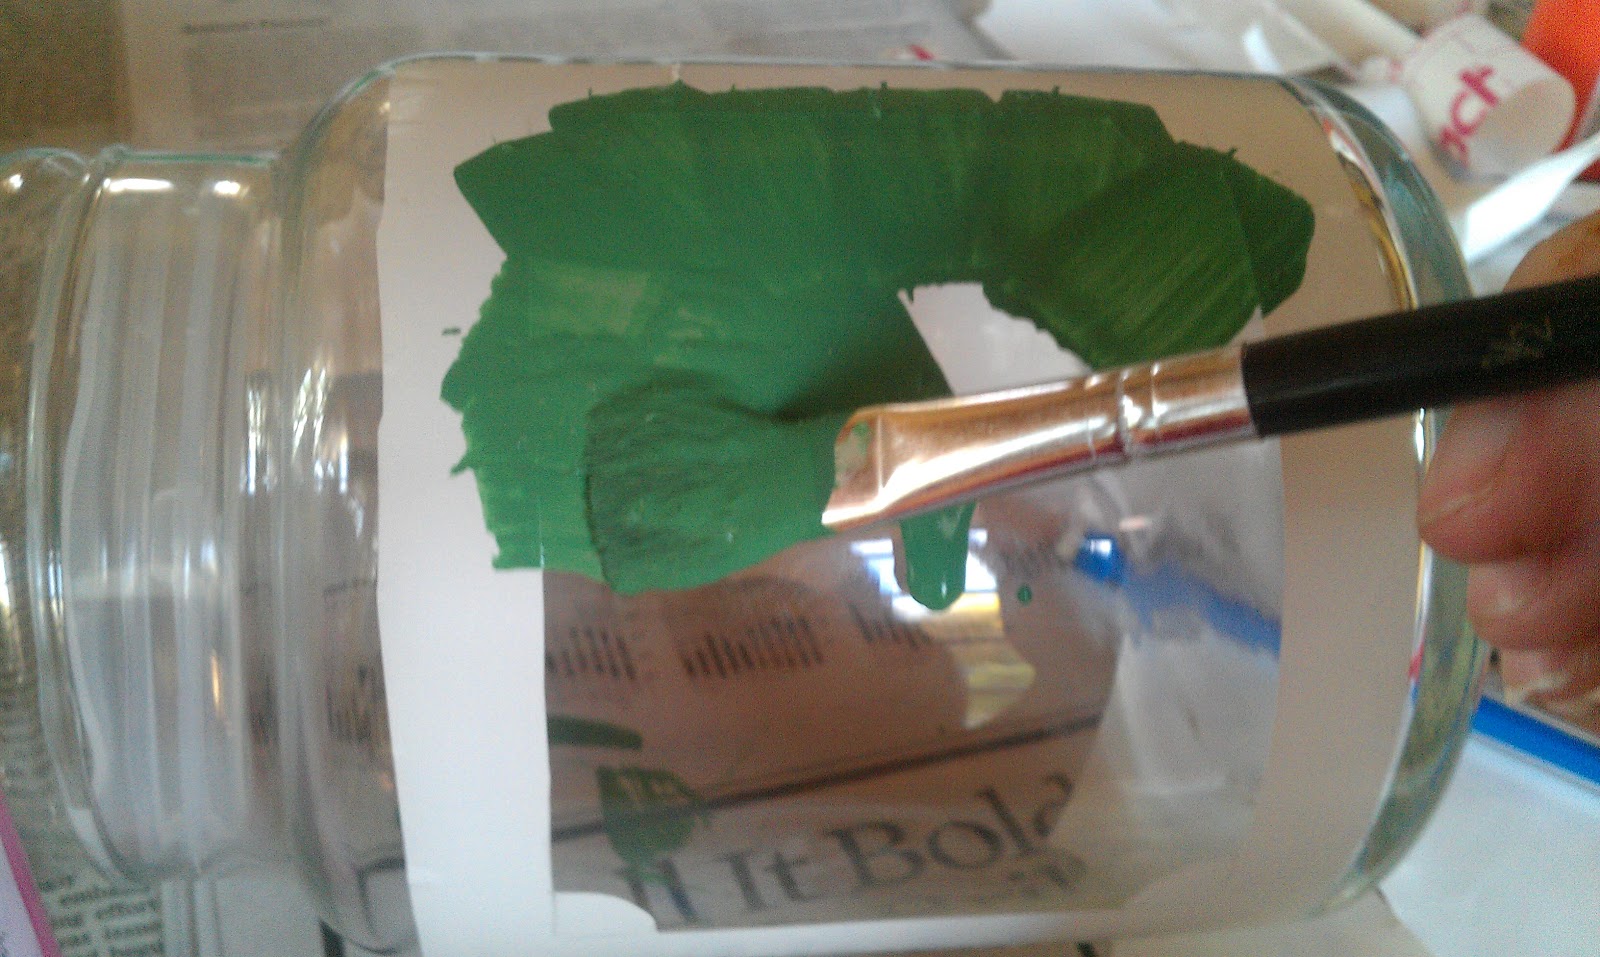
It's time for the fun part - painting! If you've ever worked with a stencil, you know that even the most meticulously applied stencil will leak now and again. To minimize the chances of that, I painted my first layer by starting the brush on the white part of the stencil and then dragging it into the center.
Cover the entire label area with a layer of paint. You will see clear brush strokes and light coming through - don't panic. Let this first coat dry for 20-30 minutes, or until the paint is no longer shiny. Paint another coat. The second coat makes the label opaque and it's much easier to hide the brush strokes by gently dragging the brush over the paint until it's smooth. Again, let this coat dry until it's not shiny anymore (30 minutes or more). I did a third coat, just to be sure.
Let the labels dry for 12 hours. I know, that's a long time when you're so excited to see how your super fun and exciting project turned out. Trust me, it's worth the wait.
Remove the Labels
Because I am impulsive and couldn't wait to see how my labels turned out, I only managed to wait 2 hours before peeling back the labels.
First jar: oh oh oh look how pretty it turned out!
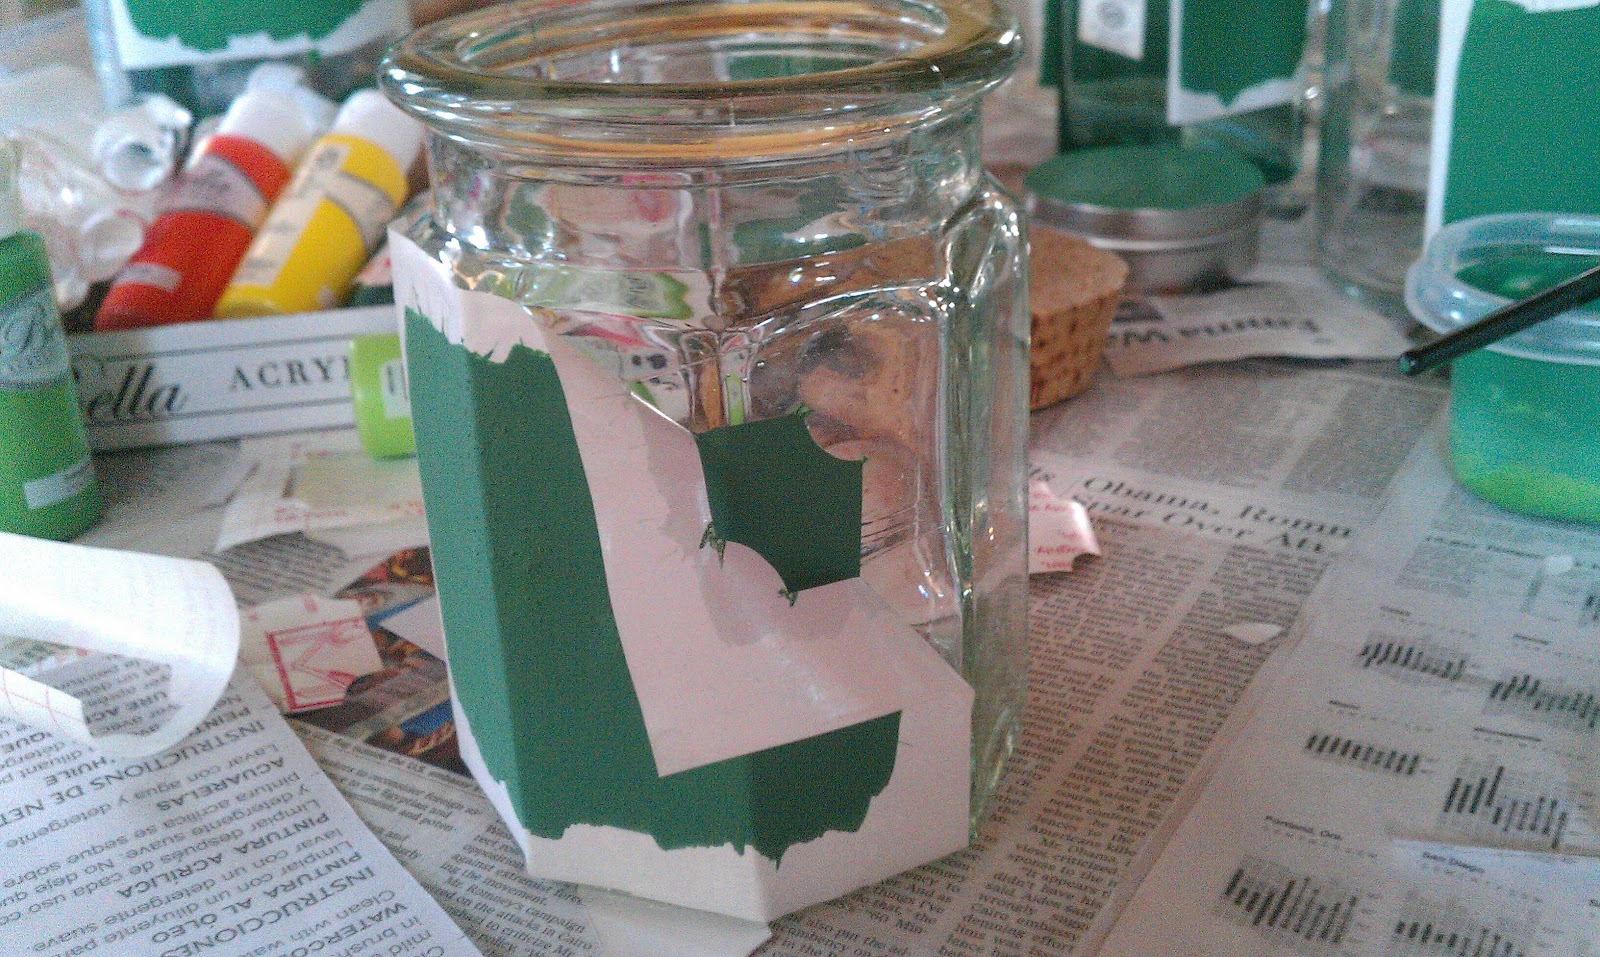
Second jar: oh noes! the label didn't stick on the edges!
Thankfully, I used removable contact paper, because I was able to stick it right back on and repaint those icky edges. I learned my lesson, and let the rest of the jars dry overnight.
The next morning, I had a precious pile of glass jars with chalkboard labels. In the spots where paint had escaped the stencil, I used a fingernail to scrape off the misaligned paint. You could also be a legitimate crafter and use a razor or a utility knife. But I'm contrary, and I didn't feel like searching out such a tool.
After I removed all the labels, I whipped out some chalk and went to work. I am so please with how they turned out! Big smiles, over here.
 |
| Super sweet jars, in action! |
I even painted the top of a metal tin that used to hold some Burt's Bees Hand Salve, and now it is the perfect hair flower holder! I plan to use this when I travel, to keep my precious hair flowers safe in transit!
 |
| This photo refused to orient properly. Grr. |
Chalkboard Label Care
The fancy schmancy jars I just made are, sadly, not dishwasher safe. In fact, don't even scrub the label. The chalk will come off by just holding the jar under warm water. Air dry. You can wash the insides of the jars with warm soapy water, but be careful with the label area when you're washing them. Because I use mine primarily to store dry goods, I'm not that concerned about this. Usually they just need to be rinsed between uses.
Thanks for stopping by, I hope you enjoyed this post and maybe even learned something. Have a crafty day!